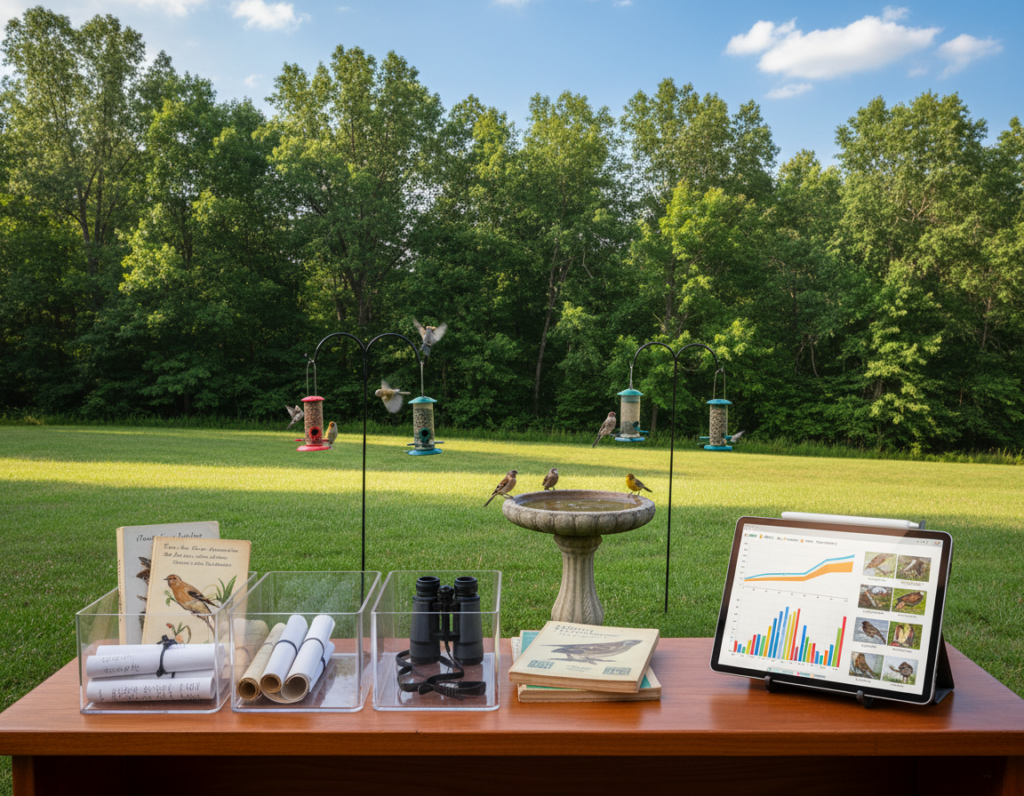
Capturing clear footage begins with smart choices. In tight urban yards, a few changes can make your setup far more reliable. Start by thinking about sight lines, signal strength, and safe perches.
Place equipment about 10–12 feet from a bush or tree to give small wildlife a safety buffer and natural approach routes. This distance also helps keep close-up shots sharp while reducing sudden out-of-frame exits.
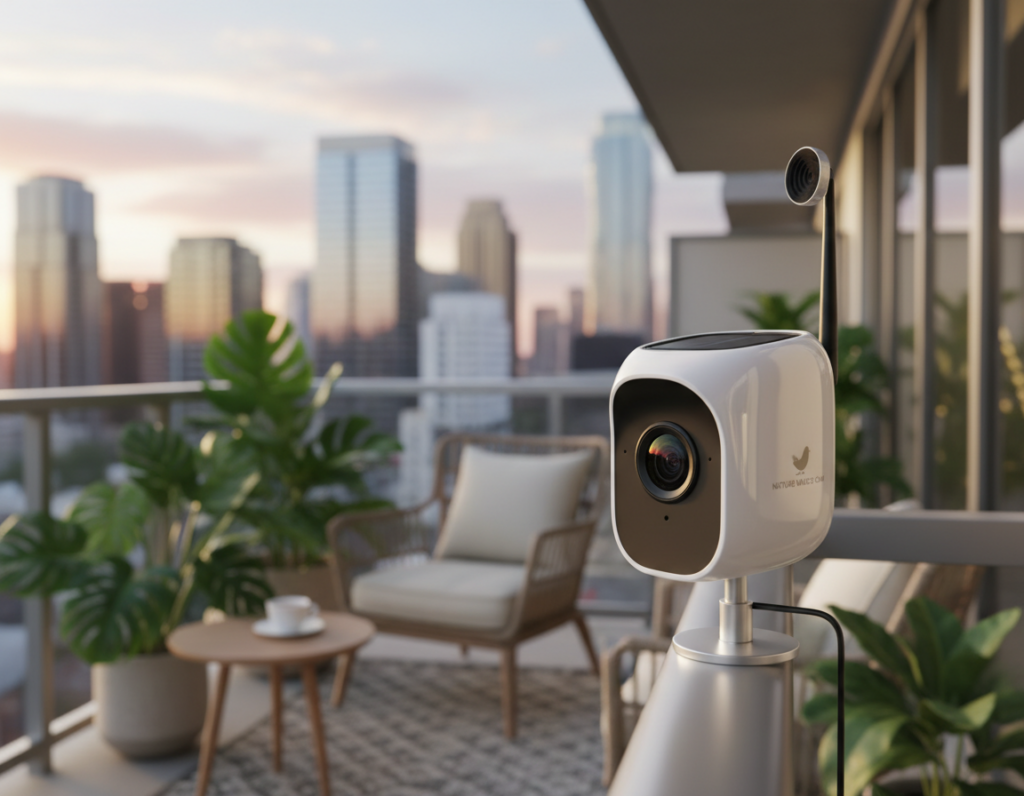
In a small apartment context, focus on elevated spots that avoid glare and backlighting. Choose locations that keep your feeder camera steady and aim for simple, clutter-free backgrounds.
Good spots attract more visitors and cut down on false triggers like passing squirrels. We’ll cover setup steps, common mistakes, and seasonal tweaks so your smart bird feeder and smart bird tech work all year.
Key takeaways: Pick clear sight lines and proper distance from a tree or shrub.
Use elevated, stable locations to improve focus and reduce false recordings.
Assessing Your Balcony for Optimal Bird Camera Placement
Begin with a simple tape measure and a sketch to map how sun and shade move across your space.
Measure length and width, then mark where railings, vents, and planters sit. This quick plan shows usable areas and helps you choose a safe location for a feeder and recording gear.
Observe sunlight at morning, midday, and late afternoon. Avoid spots that bake in direct sun for long periods. Too much heat stresses birds and causes glare on lenses.
- Identify which local bird species visit your neighborhood.
- Match feeder types to those species for better success.
- Note nearby cover and perches that make a feeding spot feel secure.
Even without a yard, small gardens and terraces can host productive feeding areas. Assess wind paths and sight lines so the place feeder options you pick give both safety and visibility.
Strategic Bird Camera Placement Balcony Apartment Techniques
Choose corners and window distances that protect visitors and improve footage. A calm corner can cut wind, give birds cover from predators, and make your feeder more inviting.
Corner Strategies
Place a feeder near a sheltered corner so visiting birds feel safe. This reduces sideways gusts and keeps a tray tidy.
Use sturdy, simple mounts and a small seed tray for a neat setup. A secure DIY mount prevents falls and keeps neighbors happy.
- Corners lower wind and help species approach without panic.
- Mix feeder types to see which attracts the most local birds.
- Keep the view clear of busy interiors to avoid distractions on video.
The Three Foot Rule for Window Mounting
Mount feeders at least three feet from glass to prevent high-speed crashes. This rule gives birds time to slow when startled.
Also, note your smart bird feeder camera has a 130-degree view. Aim it so the lens does not face private rooms or neighbors’ windows.
Managing Environmental Factors for Clearer Footage
Controlling sunlight and breeze around your setup will vastly improve video clarity and visitor comfort.
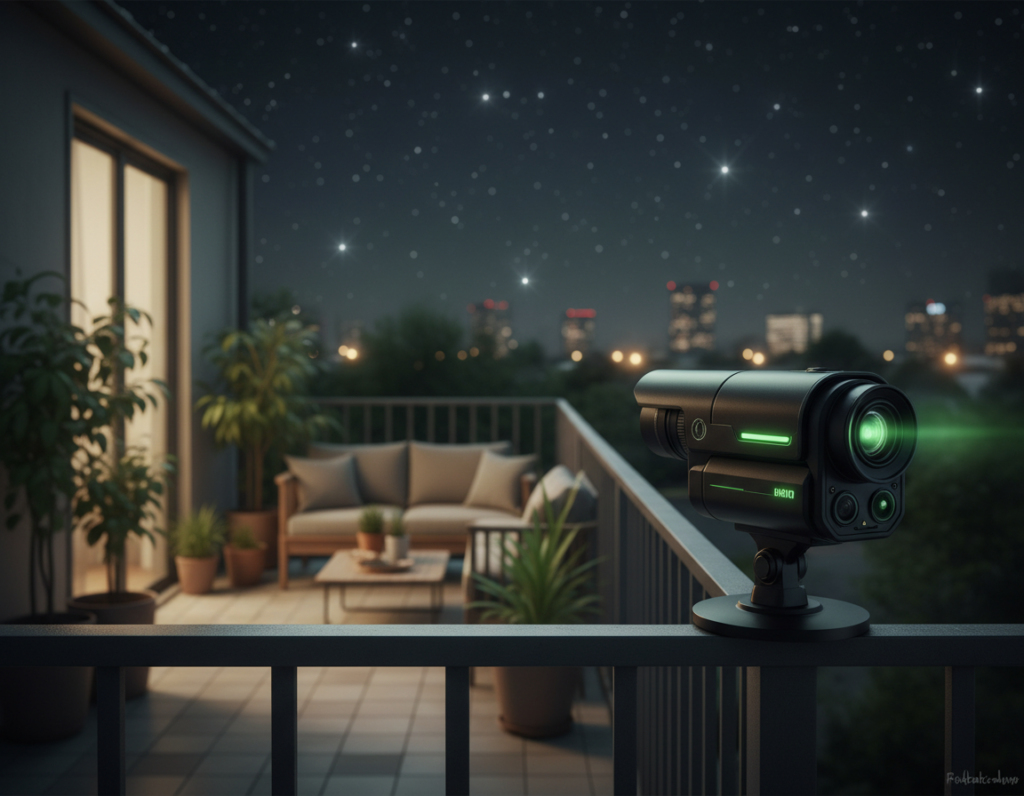
Orient north or south to reduce lens flare at sunrise and sunset. This simple direction cuts washed-out color and helps AI ID perform better.
To get the clearest footage, mitigate wind and glare. Choose a spot shielded by a wall or planter so feeders stay steady and seeds do not scatter.
- Make sure to place your feeder out of direct sun to avoid heat and condensation that spoil seeds.
- If squirrels reach the feed, mount it on a sturdy post or wall away from branches.
- Keep the view free of reflective surfaces and windows that cause glare or false triggers.
Key tip: small sheltering changes and correct orientation are the key to longer visits by birds and cleaner, more useful recordings.
Ensuring Bird Safety and Neighborhood Harmony
A thoughtful feeding setup reduces risks to wildlife and avoids conflicts with neighbors. Keep actions simple and consistent so your small outdoor project stays safe and welcome.
Preventing Window Collisions
Make glass visible. Apply bird-safe window decals, screens, or subtle tape patterns so birds spot the glass. These marks simulate other birds and cut strike risk.
Also, place a feeder at least three feet from a window or use a clear flight path so birds can escape if spooked. Avoid tight corners that trap them and increase predator exposure.
Managing Seed Waste
Spilled seeds attract pests and can rot into mold that harms birds. Sweep or vacuum loose seeds daily and use trays or seed guards to limit scatter.
Work with neighbors to share cleanup duties and agree on times to refill feeders. A tidy spot reduces rodents, keeps the area pleasant, and protects local wildlife from hazards like loose wires or sharp edges.
- Tip: Keep feeders sheltered from strong wind to limit mess and seed loss.
- Tip: Regular cleanup preserves safety and community goodwill.
Technical Considerations for Reliable Recording
A steady connection and weather protection are the unseen heroes of every good setup.
Test your Wi‑Fi and power before you make any mount permanent. Weak signal causes dropped clips and missed visits. Make sure the feed from your feeder camera reaches your router with a stable upload speed.
Protect equipment from rain and sun. Use weatherproof housings and simple shields so electronics last longer and maintain consistent recording quality.
Use the 5-7-9 rule to deter squirrels and reduce false triggers. If you set your smart bird feeder beyond a squirrel’s reach, the device will capture more visits by real birds and fewer pest interruptions.
Position the lens for a clear view of the feeder. Different types of feeders and species need specific heights and sight lines for the AI to ID visitors accurately.
- Check settings regularly for motion sensitivity and recording length.
- Protect wiring and test after storms or strong winds.
- Troubleshoot drops by rebooting the camera and checking signal strength.
Maintaining Your Equipment for Long-Term Success
A weekly cleaning routine is the foundation of long-term feeding success.
Keep maintenance simple and regular. Good care protects your investment and keeps local birds healthy.
Cleaning and Sanitization Protocols
Follow a strict wash schedule: clean feeders weekly with a solution of one part bleach to nine parts water. Rinse thoroughly and let all parts dry completely before adding fresh seeds.
Use a DIY approach to scrub the tray and housing. This helps you spot cracks, rust, or loose fittings early. Make sure the unit is easy to reach so maintenance does not require climbing on a wall or risky maneuvers.
- Remove old seed to prevent mold and bacteria.
- Wipe the lens gently to keep footage sharp and free of dust or water spots.
- Dry everything fully before refilling to avoid spoilage.
Small habits matter: dedicate time each week and your feeders will remain safe for all species that visit. For extra guidance, see this practical nest box maintenance guide.
Conclusion
A simple, reliable spot that offers shade, clear escape routes, and a good view will yield the best results.
Choose one steady space in your yard or small apartment and follow the three-foot rule for any nearby window. Keep feeders clean and secure so visitors feel safe and return often.
Consistency matters. Regular upkeep and smart setup make a smart bird feeder more effective and give you better footage of local wildlife.
For extra guidance on choosing the right location, see this practical smart bird feeder guide.